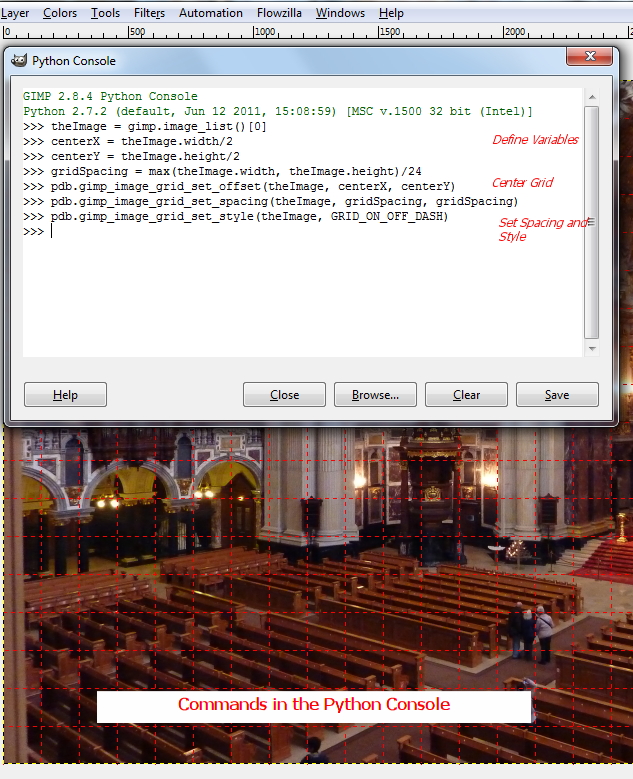
Before we dive into a description of the code, let’s take a brief walk through the process of capturing and running a “Macro”.
Suppose we wanted to set up the grid spacing so that it is centered on the image, is a square grid, is scaled so there are 24 grid blocks in the ‘long’ dimension, and is an on-off dash pattern. We could enter the following code fragment in the Gimp “Python Console” (under the “Filters” pull down menu) to set the grid up.
Example - GIMP-Python Code Fragment
>>> theImage = gimp.image_list()[0]
>>> centerX = theImage.width/2
>>> centerY = theImage.height/2
>>> gridSpacing = max(theImage.width, theImage.height)/24
>>> pdb.gimp_image_grid_set_offset(theImage, centerX, centerY)
>>> pdb.gimp_image_grid_set_spacing(theImage, gridSpacing, gridSpacing)
>>> pdb.gimp_image_grid_set_style(theImage, GRID_ON_OFF_DASH)

If you watch the image as you enter the commands and have the Grid turned “ON” you will see the grid spacing on the active image change as we execute these commands.
The tool we are writing in this tutorial will allow us to copy this code fragment into a text file, add a name and optional comments, and access it through a menu widget so we can rerun this code fragment on other images. The tool will access the “macro” code fragment using the name we assigned through a pull down menu.
The ability to save the macro code fragments allows us to build up a library of editing shortcuts that will not only save time, but do the job better than you could be simply pushing the buttons. In this case we made the grid spacing based on a percentage of the image size rather than a fixed size in either inches, pixels, or cm.

لا ترحل قبل إضافة تعليقك هنا - نحترم الانتقاد البناء والكلام السيء مردود على صاحبة
EmoticonEmoticon